


By Jake Pugh, Catoma Director of Sales and Marketing
This is where the rubber begins to meet the road in planning a big trip. The financial challenges of acquiring the gear you need/want can be tough, and the ocean of product choices and information can be overwhelming. I’ll show you in this – and the articles following – where my lifetime of gear experiments have led me. Hopefully, you will find some good ideas along the way.
I always try to find a balance of value and function. I don’t have the most expensive technical gear or ultralight gadgets, because in my experience ultralight often meets delicate, and that’s just not how I travel. I put my gear through a lot, and I need to know that it’s going to hold up for me every time I take it out. I will always choose the few extra ounces necessary to get slightly more durable fabrics or finishes. For this trip, this is especially true, because we are only hiking a few miles. In future Field Notes, we will talk about going ultralight for longer hikes a little more in-depth. Today, we’re talking about workhorse gear that will keep us comfortable so we can focus on the fishing.
First, here are a few of my basic rules when shopping for gear:
When preparing my packing list and when arranging my gear, I break everything up into basic categories to make it easy to organize while packing and easy to locate when I’m downrange. The categories I use are Shelter, Food, Water, Clothing, Tools. You can create your own categories and get even more granular if you need to, but this works for me. Let’s take a closer look at the Shelter category first.
Shelter
The “Shelter” category is of critical importance because these are the items that will prevent hypothermia and keep you well rested so you can stay alert and make good decisions on the trail. The options in the tent and sleeping bag categories seem practically endless. Only you can decide what is right for you, and it may take some experimentation to get it right. My first and best piece of advice: Don’t skimp. Big box brand tents and sleeping bags are inevitably going to meet their end with you having a bad night.
We are tent people. We know and love tents and have spent a lot of time in the wild, sleeping under rain flys. Nothing can be more valuable or more frustrating on the trail than your tent. A good night’s sleep through a storm makes you feel like a savvy adventurer, but a dripping leak or a detrimental tear can turn a simple rain shower into a soggy, sleepless nightmare. Don’t overthink it and stress yourself out, you’ll be fine. But don’t take this decision lightly, either.
I would be remiss if I didn’t mention here that Catome tents are designed with this kind of thinking in mind. We are a durability-first product line. We have not sacrificed mil-spec durability to try to compete in the ultralight dogfight going on in the tent market at large. Our tents are made from high-quality 70 Denier Mil-spec Ripstop nylon, while many of the tents on the market are made of 40Denier, 20Denier, even 10 Denier and below fabrics that offer weight savings but sacrifice long-term durability in a significant way. (Denier rating has to do with the thickness and durability of the fibers used to create fabric.) You should find the balance that suits your needs, but we know where we’re willing to sacrifice.
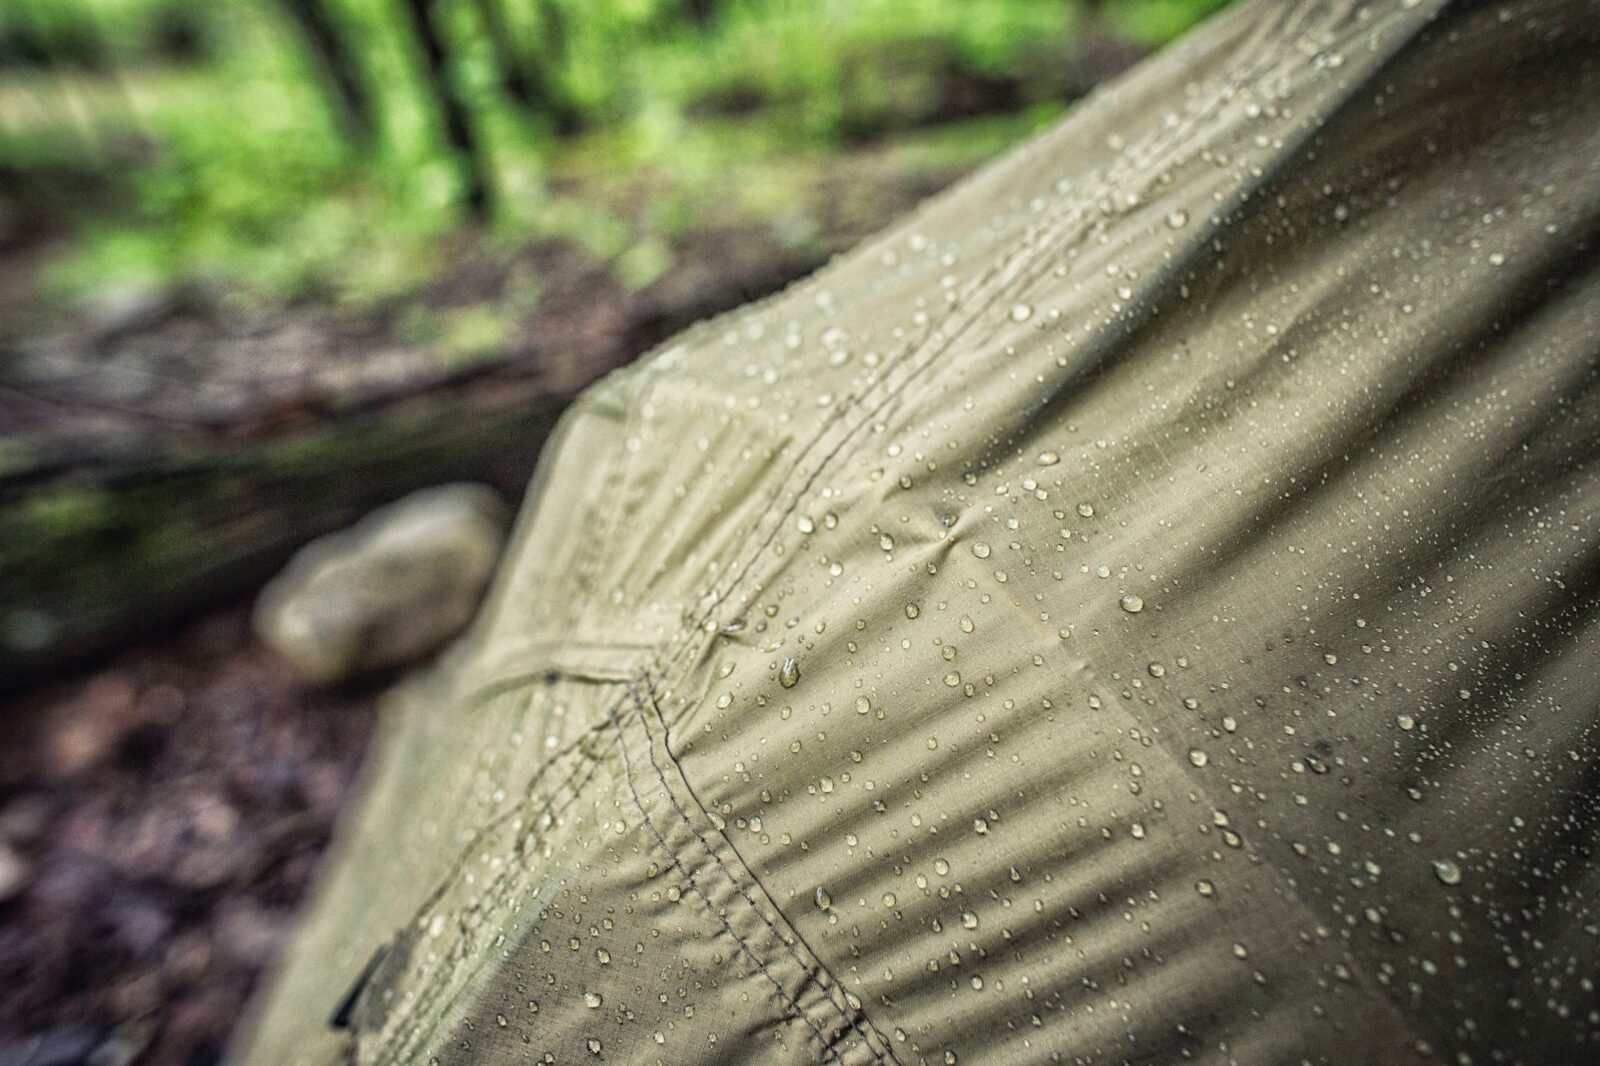
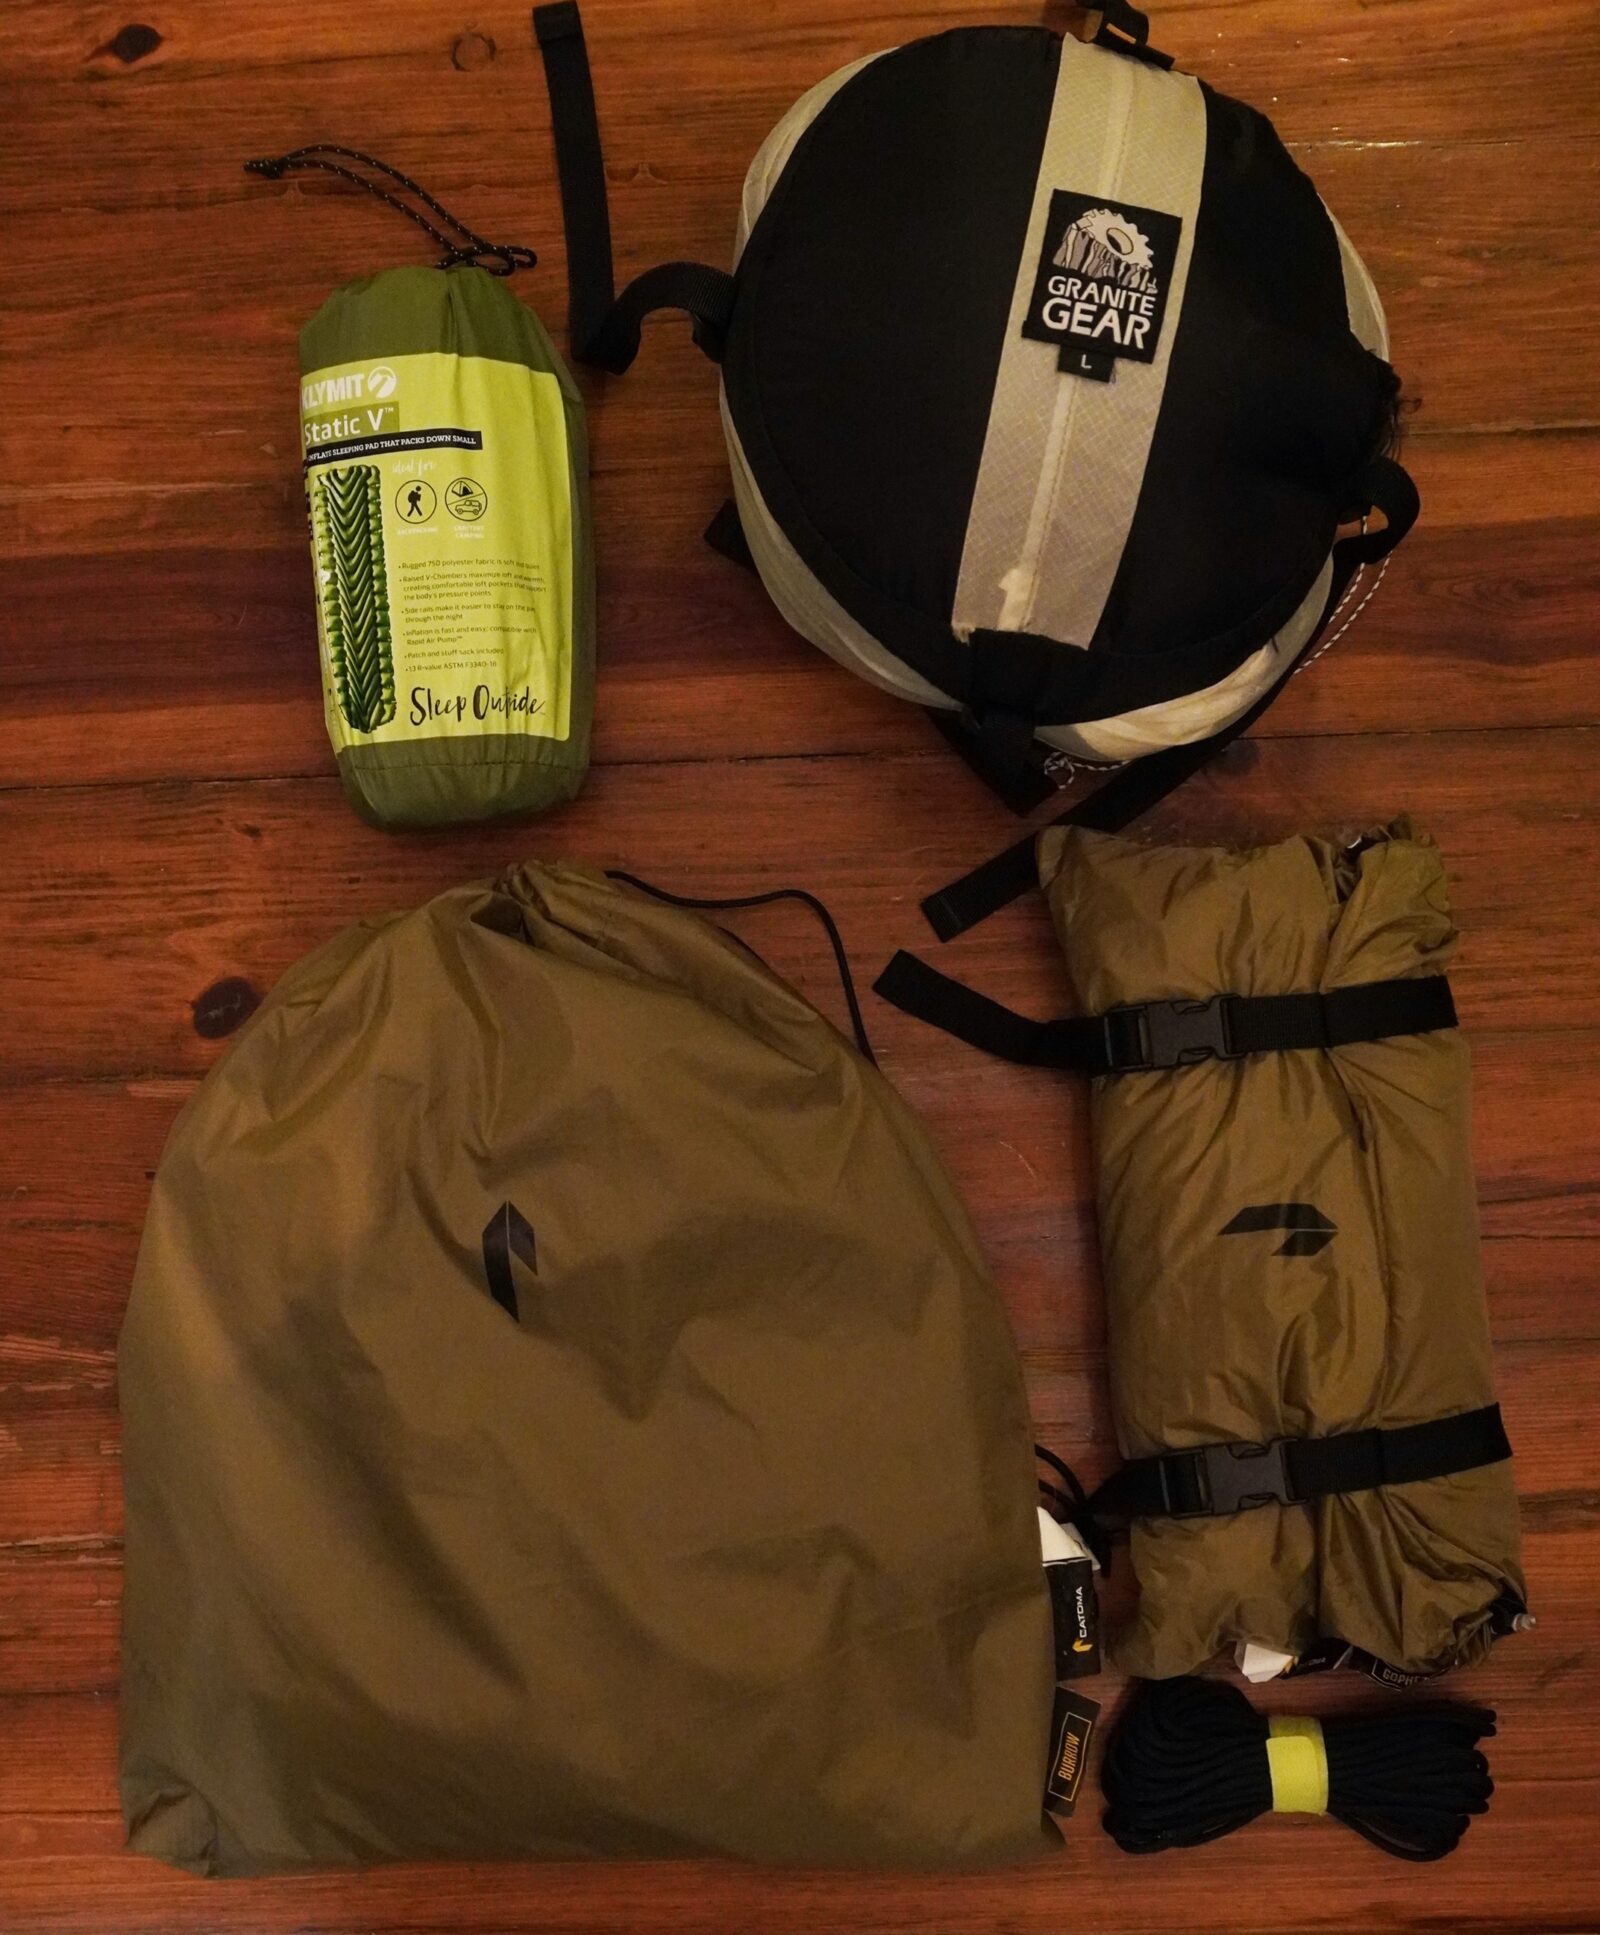
For this trip, I am using what I consider a hybrid setup. The modular nature of Catoma’s Burrow family of tents allows me that luxury. I am pairing the Catoma Burrow (1 lb 15 oz.) with the Catoma Gopher Tarp (1 lb 10 oz.) instead of a traditional “rainfly”. Both of these products use a lightweight 70 D Ripstop fabric and offer me a lot of flexibility in my setup configuration. With this setup, I am taking mil-spec fabrics into the field for a total weight of about 3.5 lbs. That’s not necessarily “Ultralight” with a capital “U”, but it’s definitely nothing to sneeze at.
I will use the Gopher Tarp as my rainfly, lifting and attaching one corner to a tree to ingress/egress, and lowering and looping it around a stake for the night and during the day when I’m away fishing. The use of guylines is required for this type of setup, so polish up on your knot-tying and practice before you get to the woods.
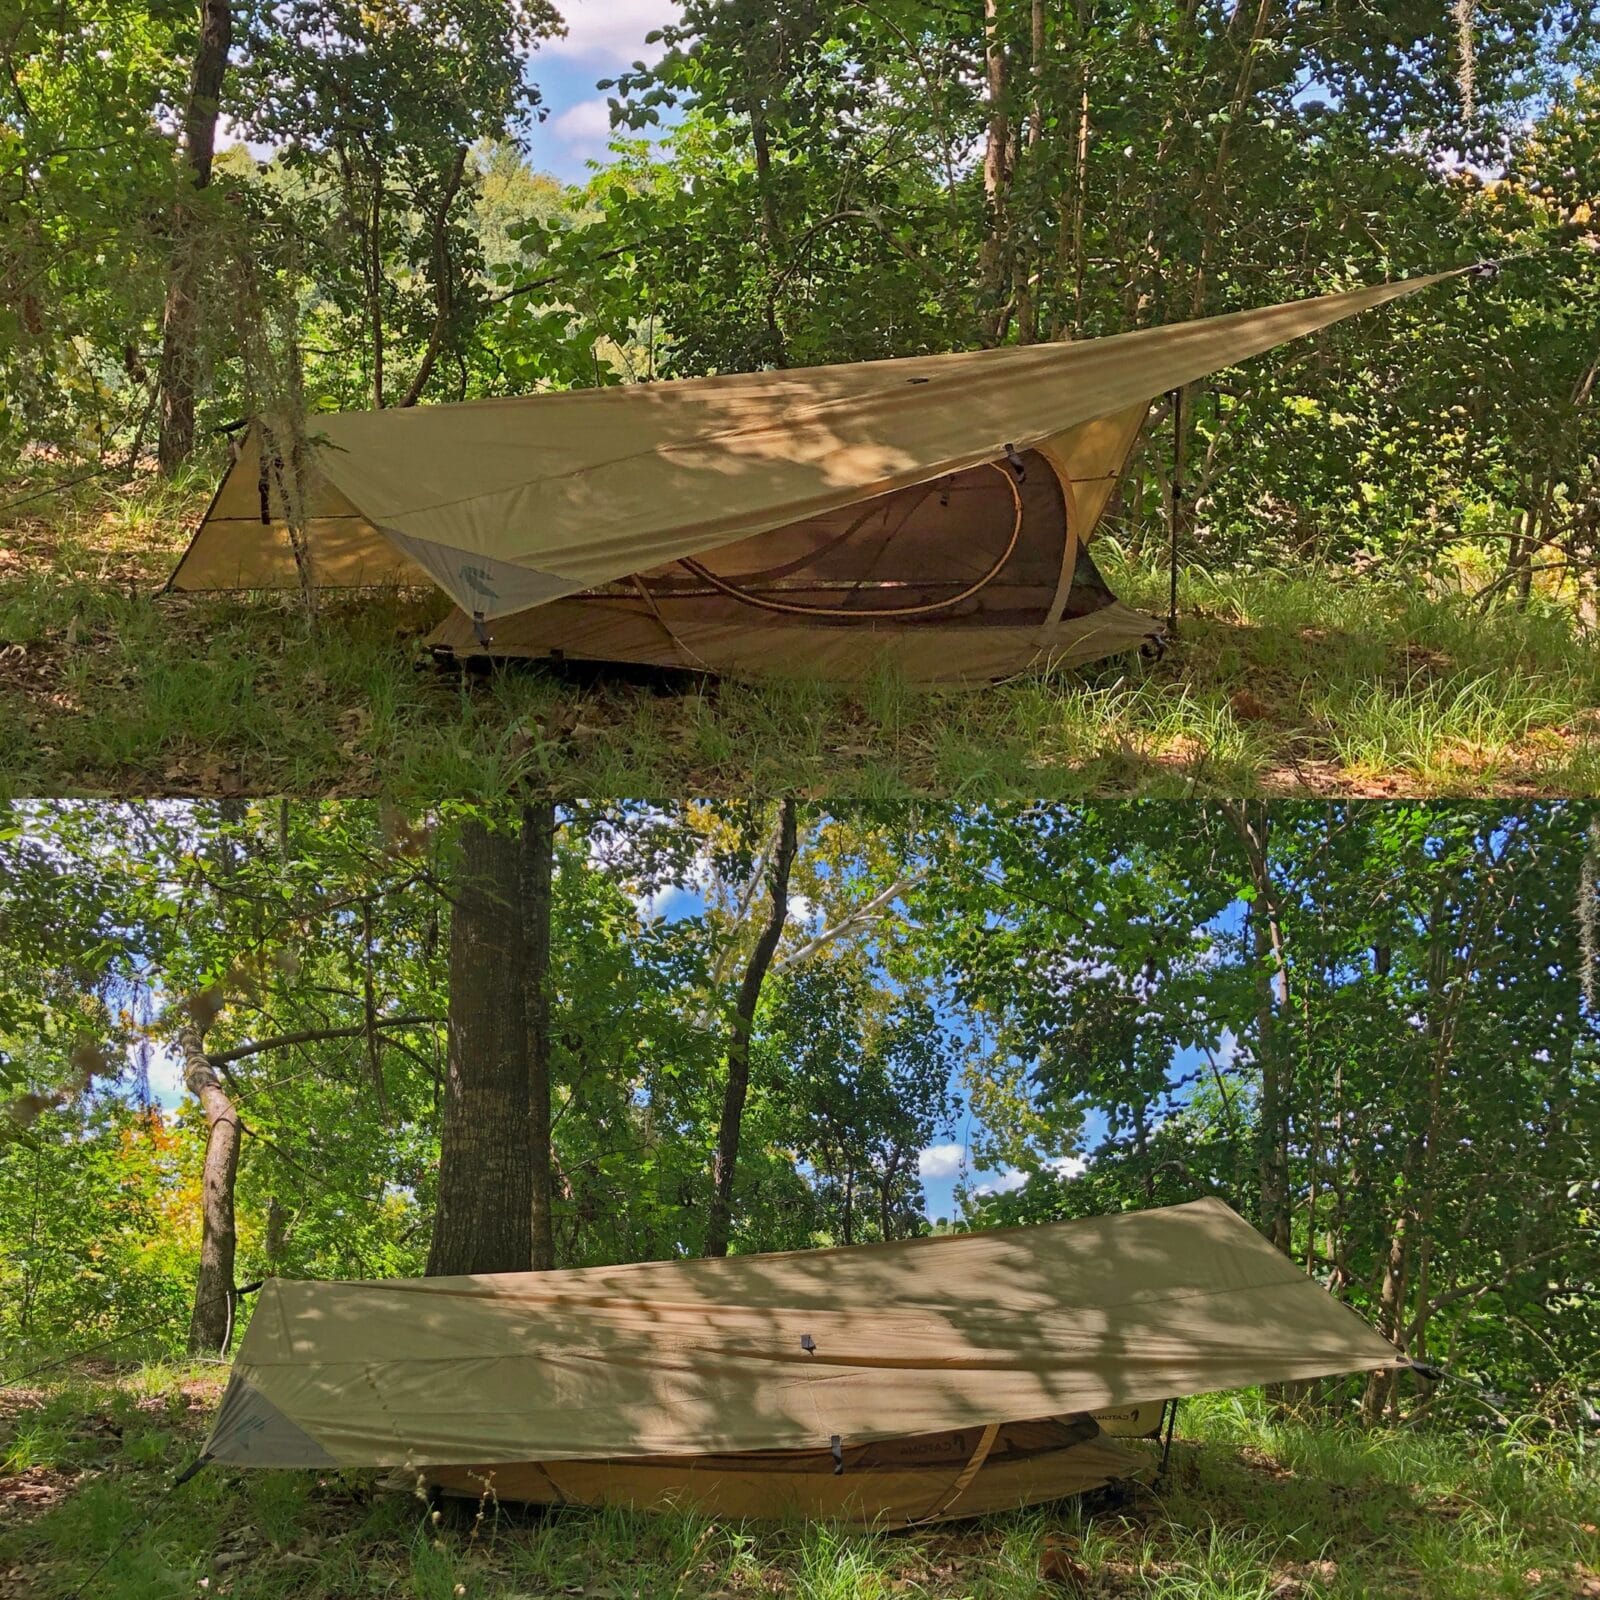
I often use hiking poles or found sticks to construct a tarp shelter. The Gopher comes with some high-quality guylines, but I always take some extra 550 cord so I can be more flexible in how I hang the tarp.

I’ll be using a Klymit Static V Sleep Pad (1lb 3 oz) and a GoLite Down bag (1lb 7.5 oz). This rounds out my entire Shelter Category at 6lbs 6.5 oz for Tent, Sleeping Bag, Sleep Pad, and 550 cord for setup.
Food
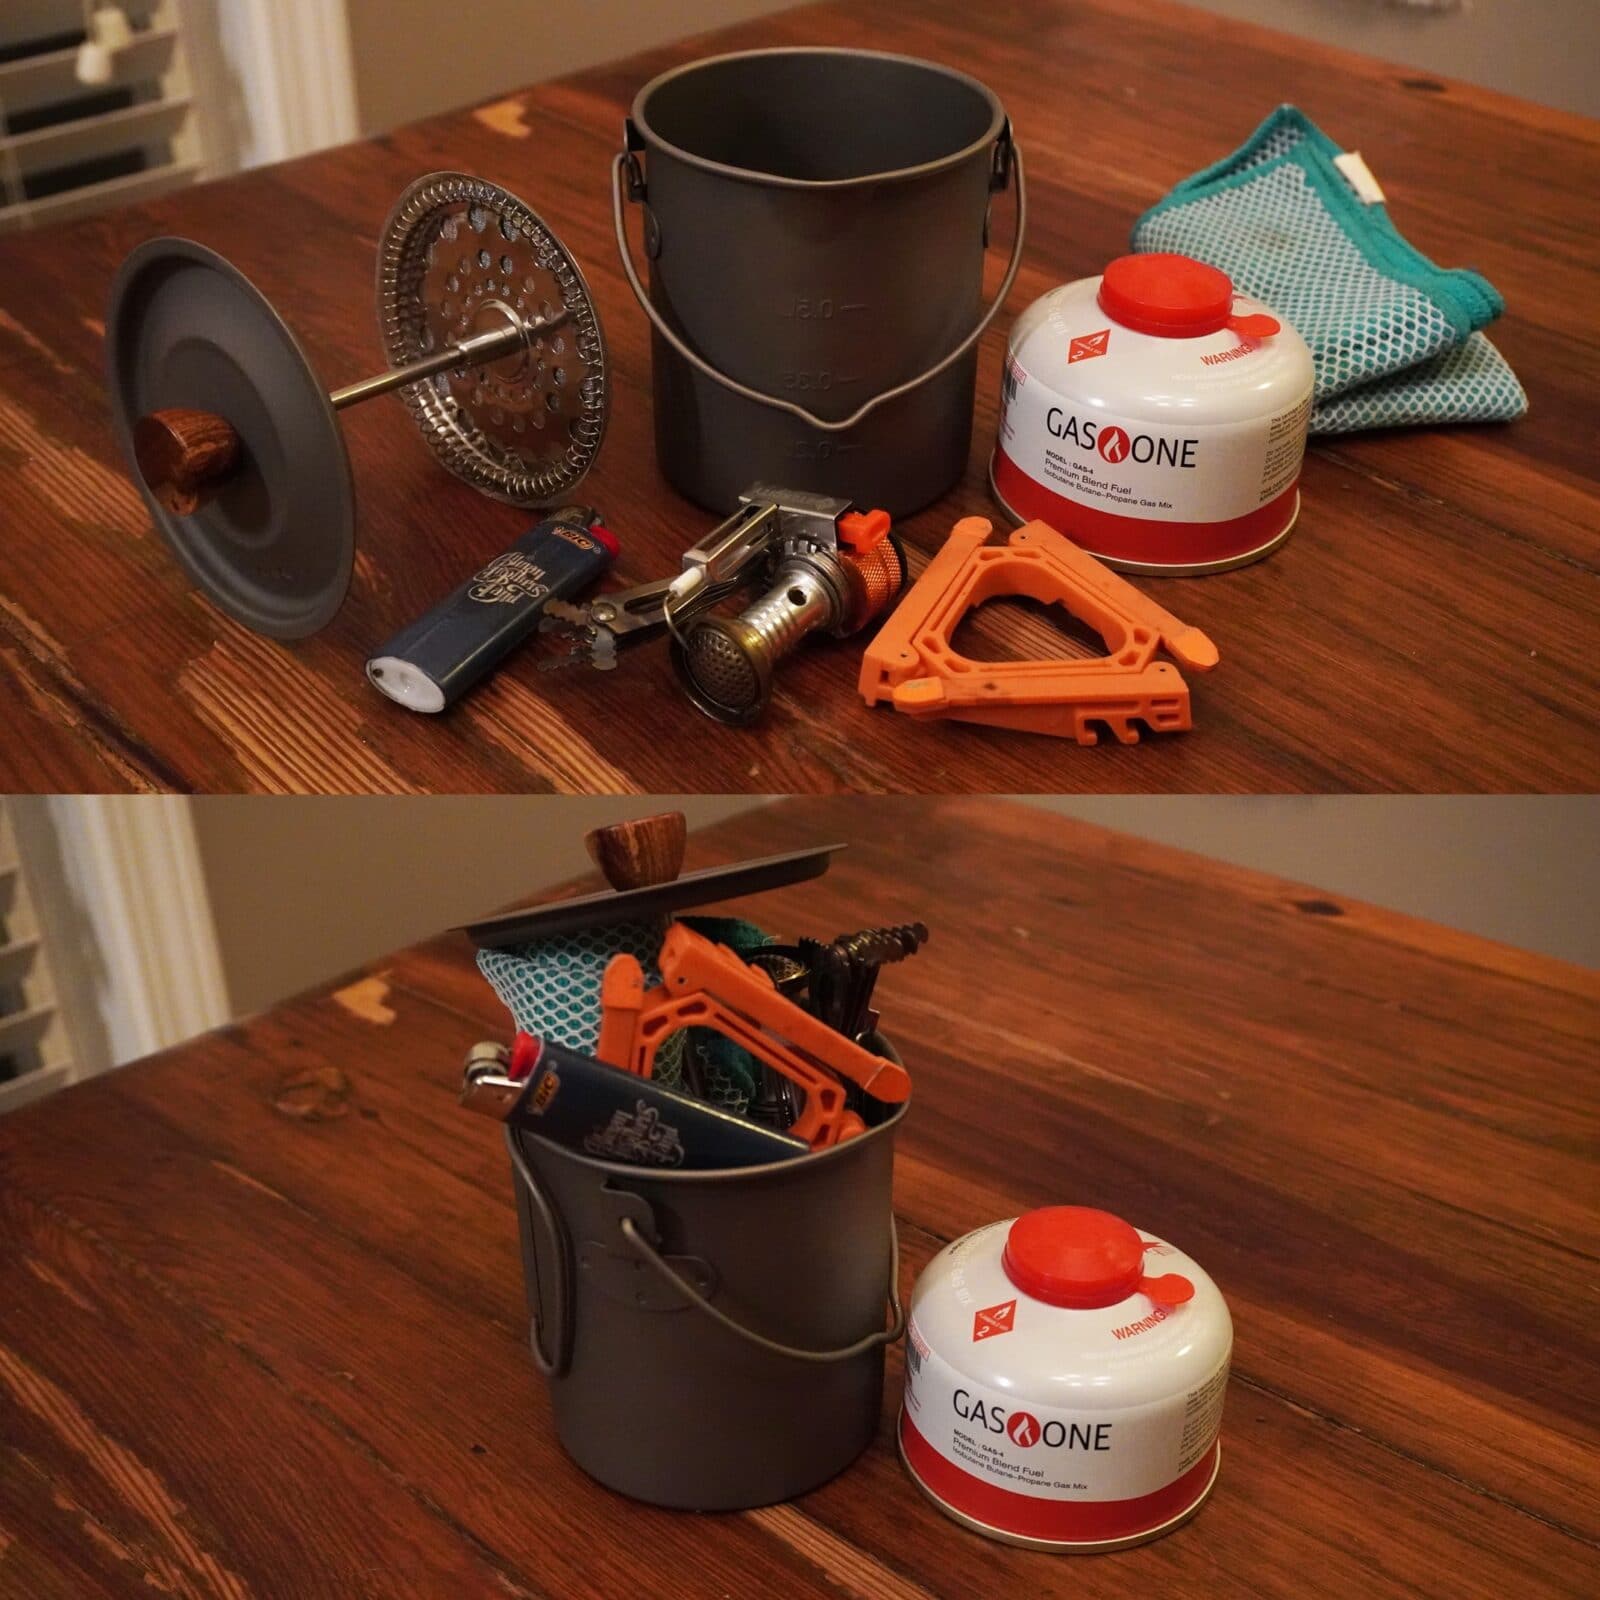
This is another category where you can really save some bulk and weight if you’re creative with it. I have been honing my “kitchen” setup for years and am happy with where it has landed now. I value having good coffee on the trail, so my kit starts with a titanium boil pot (7 oz.) that has a French press style lid. This doubles as my boil pot for cooking meals as well as my coffee pot in the mornings. I heat it with a very small collapsible stove (3.4 oz) powered by a butane tank (7 oz.) mounted on a small foldable pot stabilizer (1 oz). Most of the parts pack into the pot. Toss in a titanium spork (1.3oz), a lighter (.5 oz), and an insulated mug (6.5 oz) for meals, coffee and bourbon. My entire mess kit weighs in at 1 lb. 10 oz.
When it comes to the actual food, the options extend beyond the scope of this article, truly! The bulk of my meals for this trip will be dehydrated backpacking meals, but I often dehydrate sauces and noodles for a more homemade paste meal on the trail as well. Do some research and find some options that suit your needs.
Water
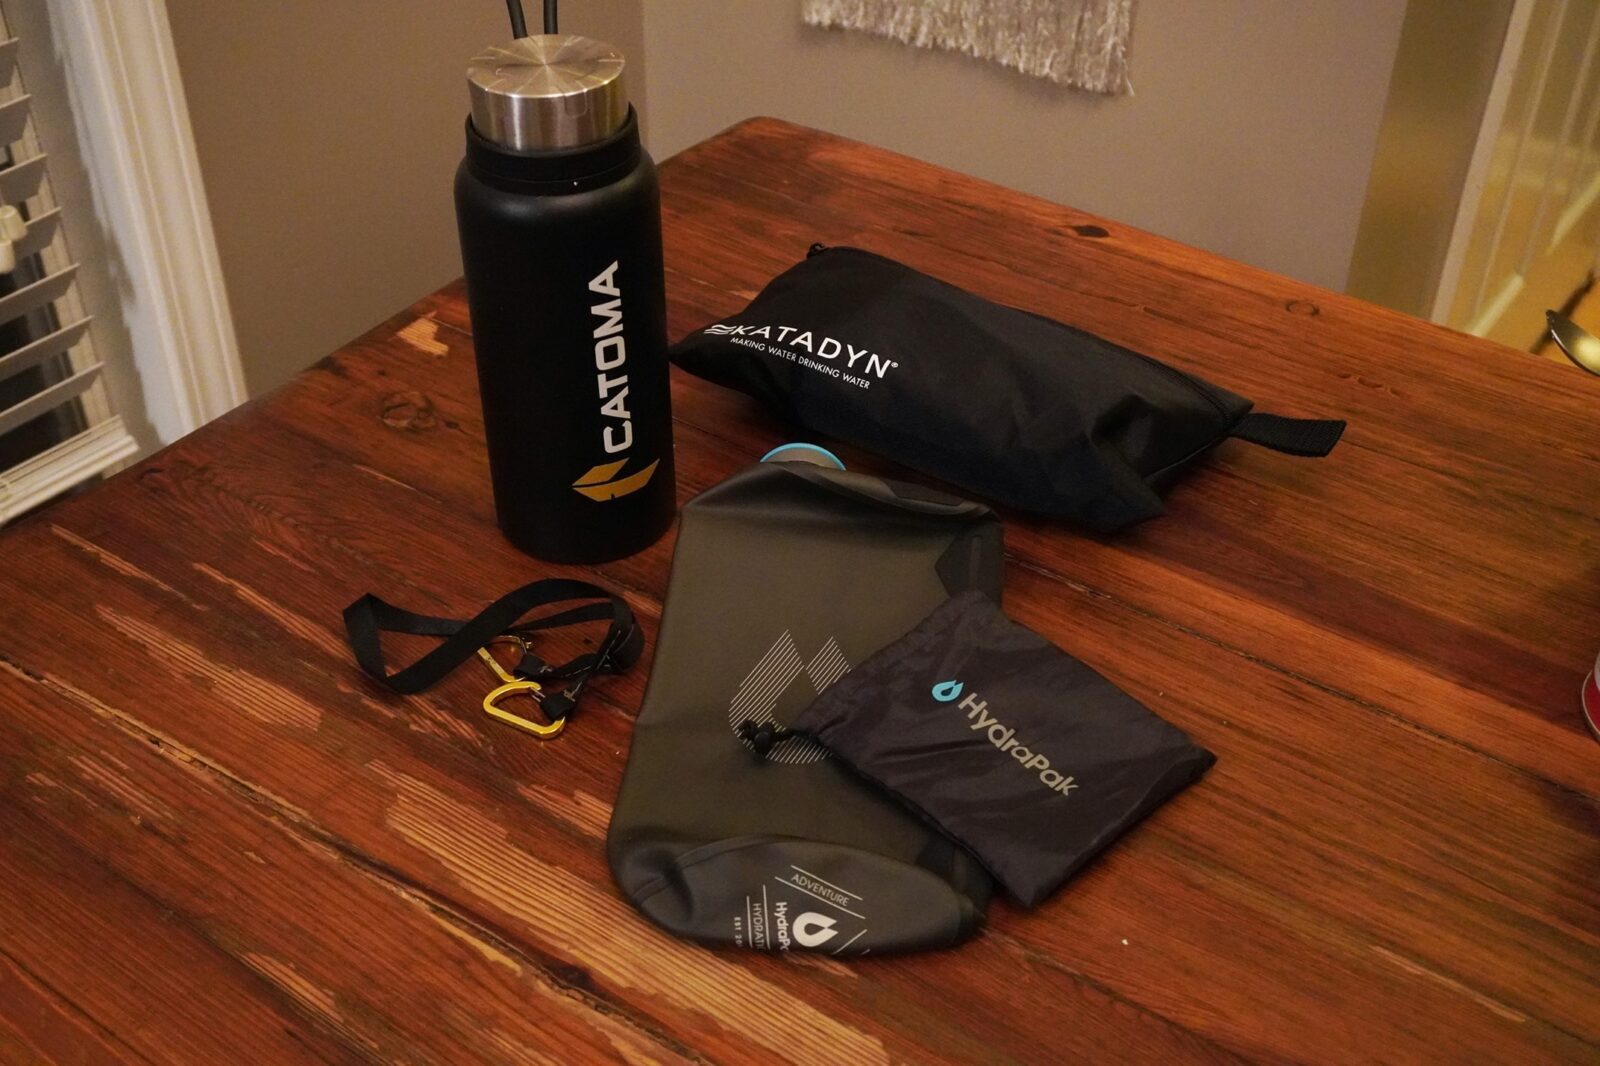
The water category can make or break a trip. If you’re in a wet climate and have access to good fresh waterways for easily filtering water, consider yourself lucky. You can pack light and filter often. If you’re in a dry climate, you’ll have to carry more water from the jump. I’ve spent a lot of time in both and have come up with a system that works quite well for me (and many others too!). I think of this category in three stages. Primary drinking, secondary storage, and filtering. I don’t love drinking from the hose of a bladder system, so I opt for a good durable bottle as my primary drinking reservoir. Shown in the pic below is my 1 Liter OGGI brand insulated bottle (1lb empty). I offset that extra weight by making sure my secondary carriage is super lightweight and efficient. I use the Hydrapak 2L bladders (3 oz). For my filter, I use the Katadyn Hiker Pro (13 oz); maybe the most proven and popular water filter on the market. I toss in a double-ended mini-carabiner strap for lashing these items or hanging around my belt loop while filtering. That all brings my water kit to about 2 lbs empty.
Three liters of water weighs 6.6 lbs, and you should plan to have 2-4 liters of water per day depending on your activity level, body weight, conditioning, etc, so keep that in mind when you’re planning your water reserves. I will obviously be on the river for the entirety of this trip, so I can keep it light and filter as often as I need to. If you’re venturing further from water sources, make a detailed plan and mark on your map where you will be able to top off your water. Some water sources are seasonal, so ask someone in the know before you rely on water sources that are less than reliable.
Clothing
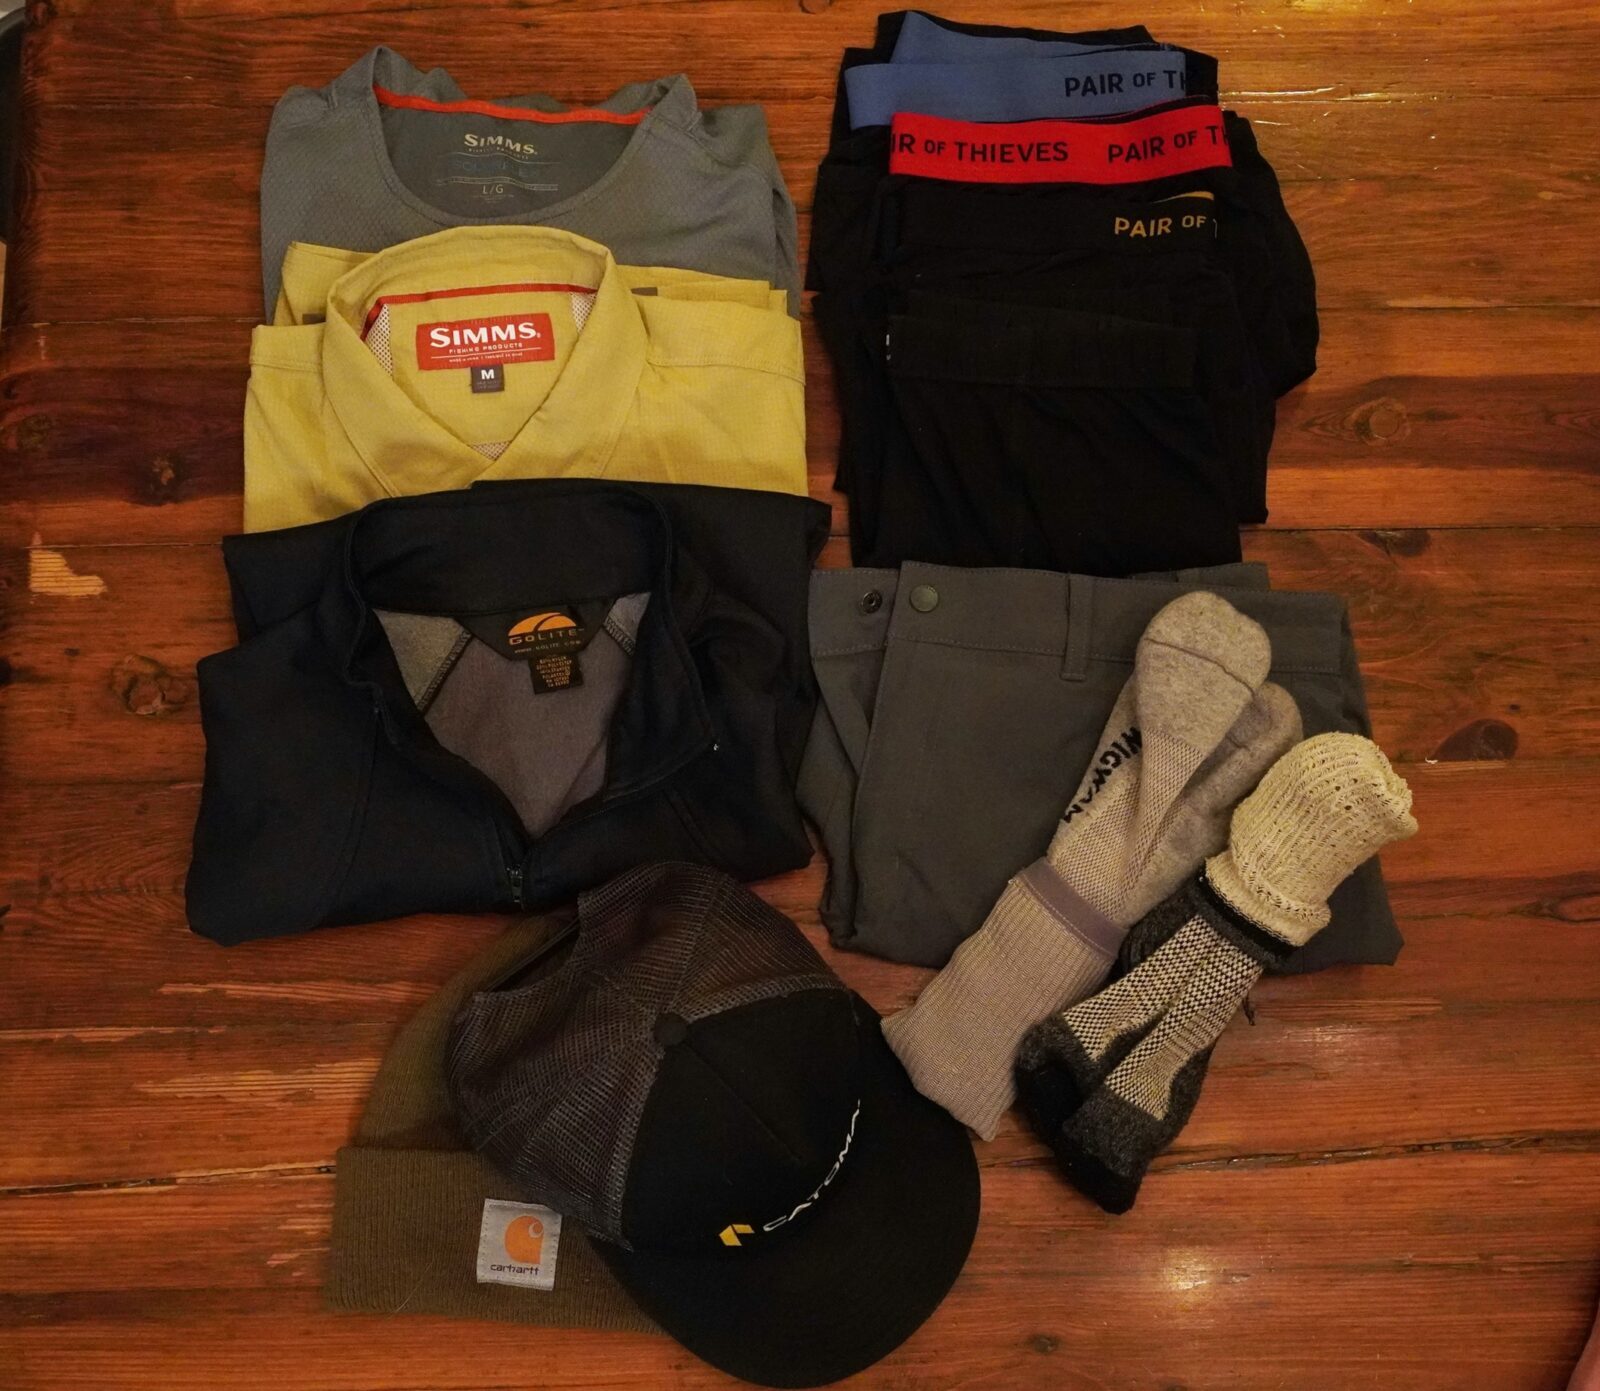
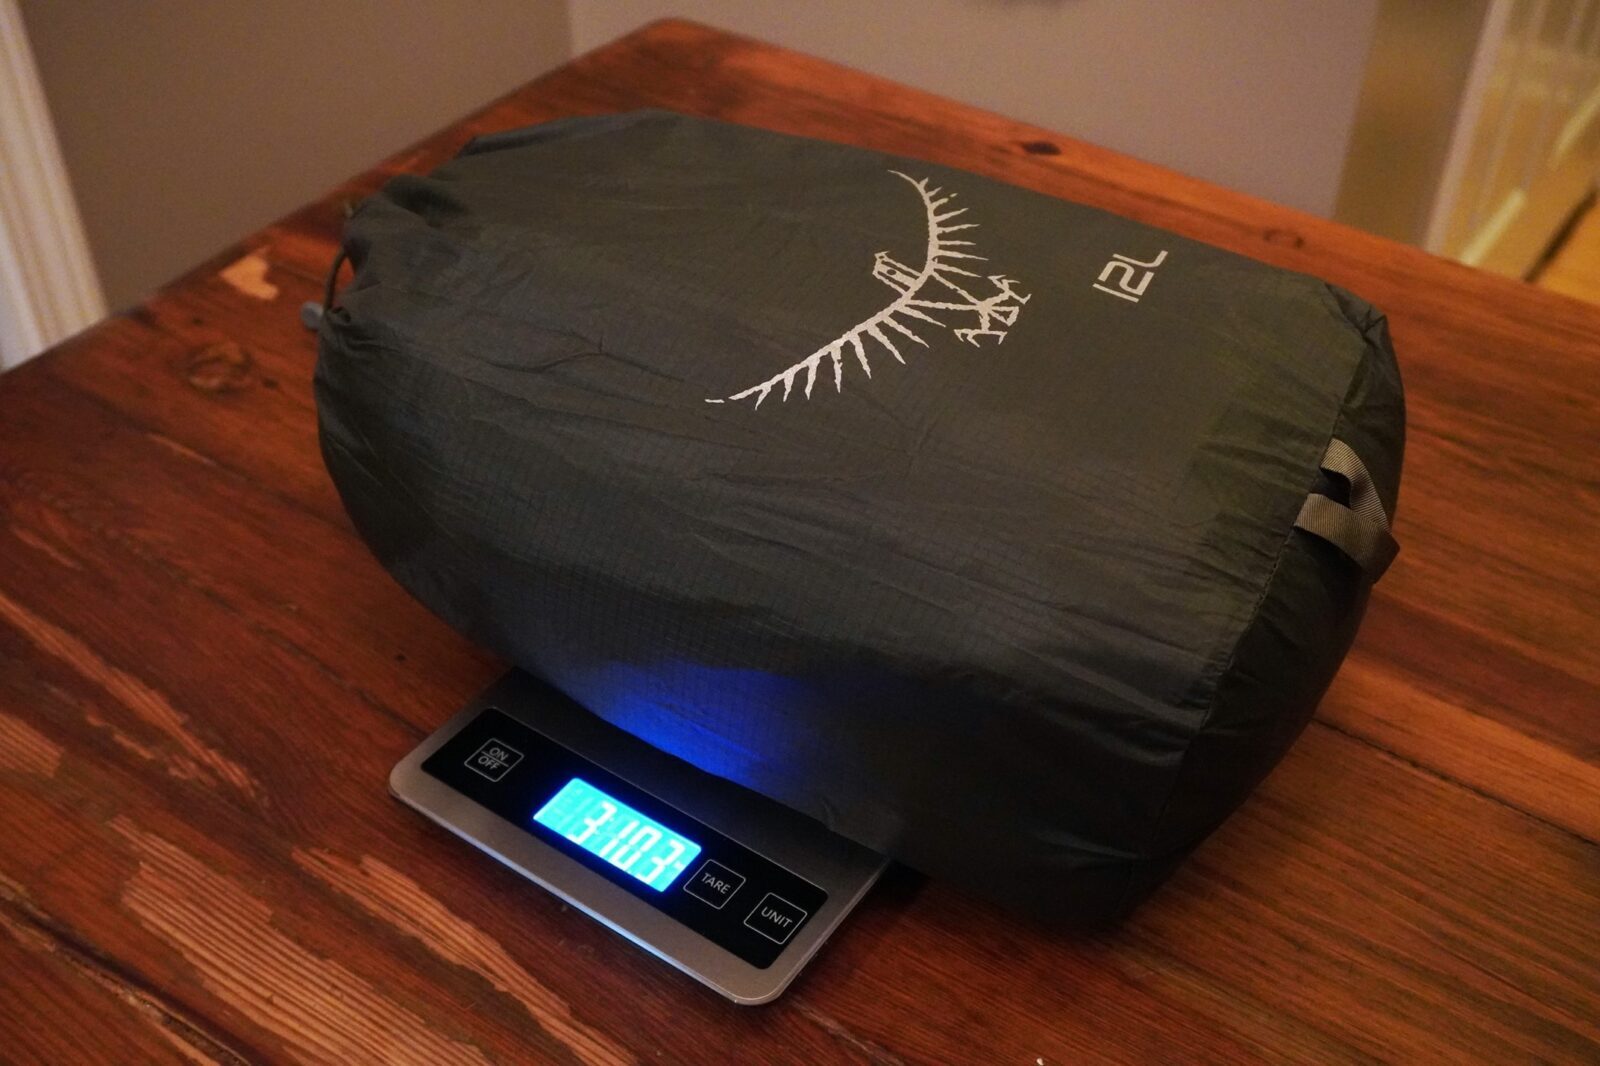
Many variables will affect the clothing you decide to take with you, but this selection of items will work for most weekend trips. I’m carrying a pair of ultralight Columbia pants (10.4 oz), two lightweight shirts by Simms (13.8 oz), a quarter-zip GoLite Shell I’ve had since before their restart (9.4 oz), a warm pair of Wigwam socks (2.7oz), a lightweight pair of Wigwam socks (2.2 oz), a couple of changes of underwear (5 oz), thermal underwear (5.7 oz), a warm cap (2.5 oz), and a ball cap. I’ll also toss in or wear my Mountain Hardware packable down jacket (8.8 oz) and a raincoat (13.5oz) if the weather dictates. That puts my essentials at 3lb 10 oz. (with stuffsack) and my entire clothing category (with jackets, hats, etc) at 4lb 15oz. My clothing kit in its stuffsack will double as my pillow.
Tools
This category is my catch-all category for all the auxiliary items that will make this trip go. This will vary greatly for you and your trip, but I’ll run through some of the things I think I will want to have for this trip. Headlamp (3.9 oz), Fire Stick (.25 oz), a small Lantern (6 oz), Bug spray (3oz), Portable Battery Pack for camera and phone battery recharge (12.4 oz), leatherman (5.9 oz), and a litany of fishing gear that will have to come in another Field Notes post at a later date.
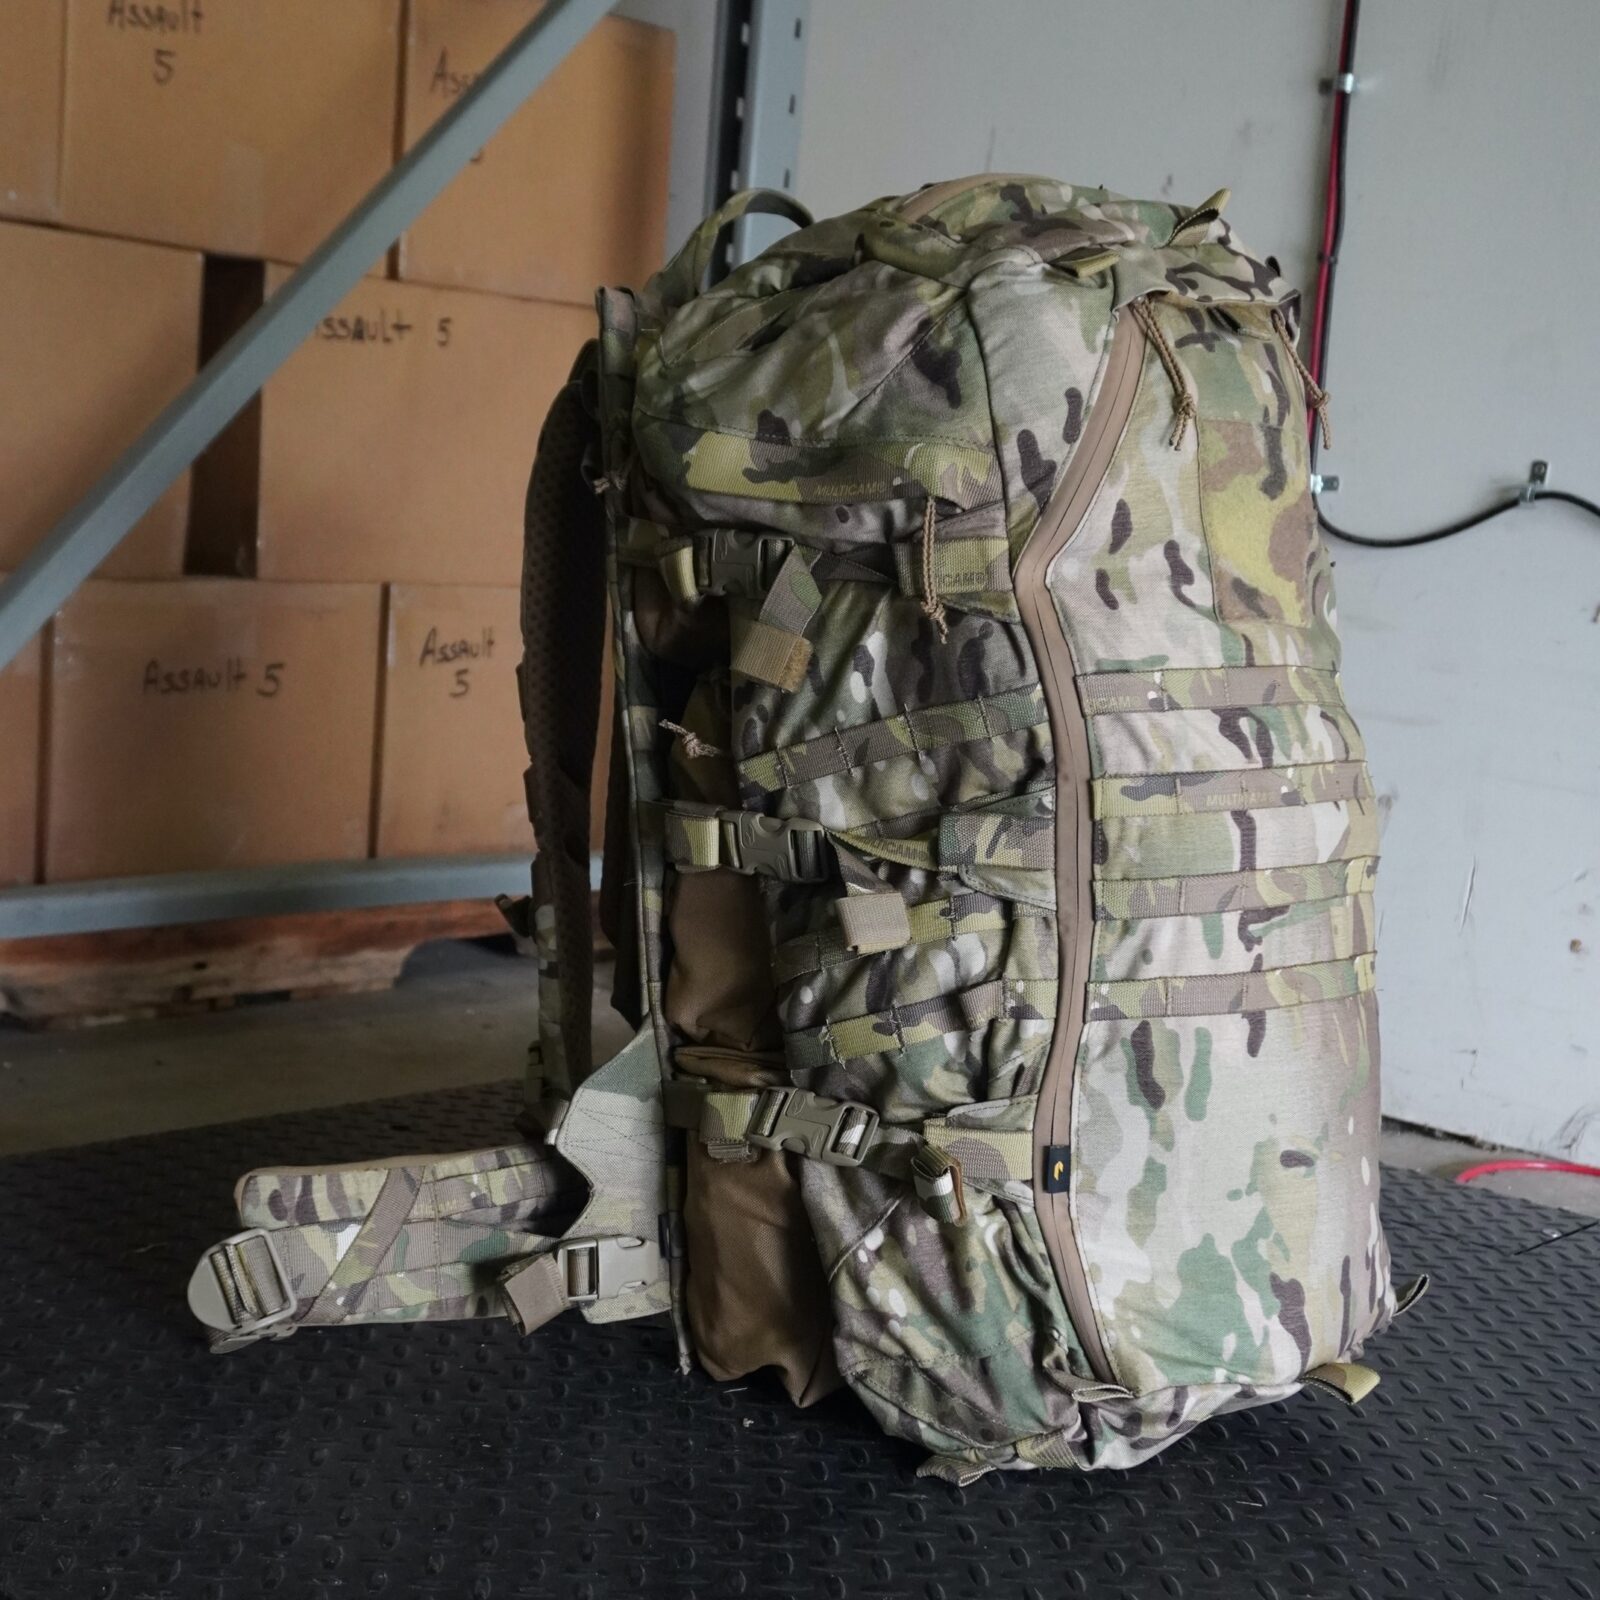
Pack
And last but not least, how do you plan to carry all this? For this trip, I will be using a protoype of a new load carriage solution from Catoma. It’s a configuration of our patented Switchblade Modular Pack System designed to carry various military equipment. I am testing the viability of this system for backpacking use. It is relatively overbuilt for backpacking in its current iteration, coming it at around 7.5 lbs for the combination of parts you see here. But, this trip offers an interesting opportunity to carry some irregular items, so I am loading it up to see how it does. Hopefully in a future Field Notes we can tell you that we’ve introduced an ultralight, commercial market version of this proven concept.
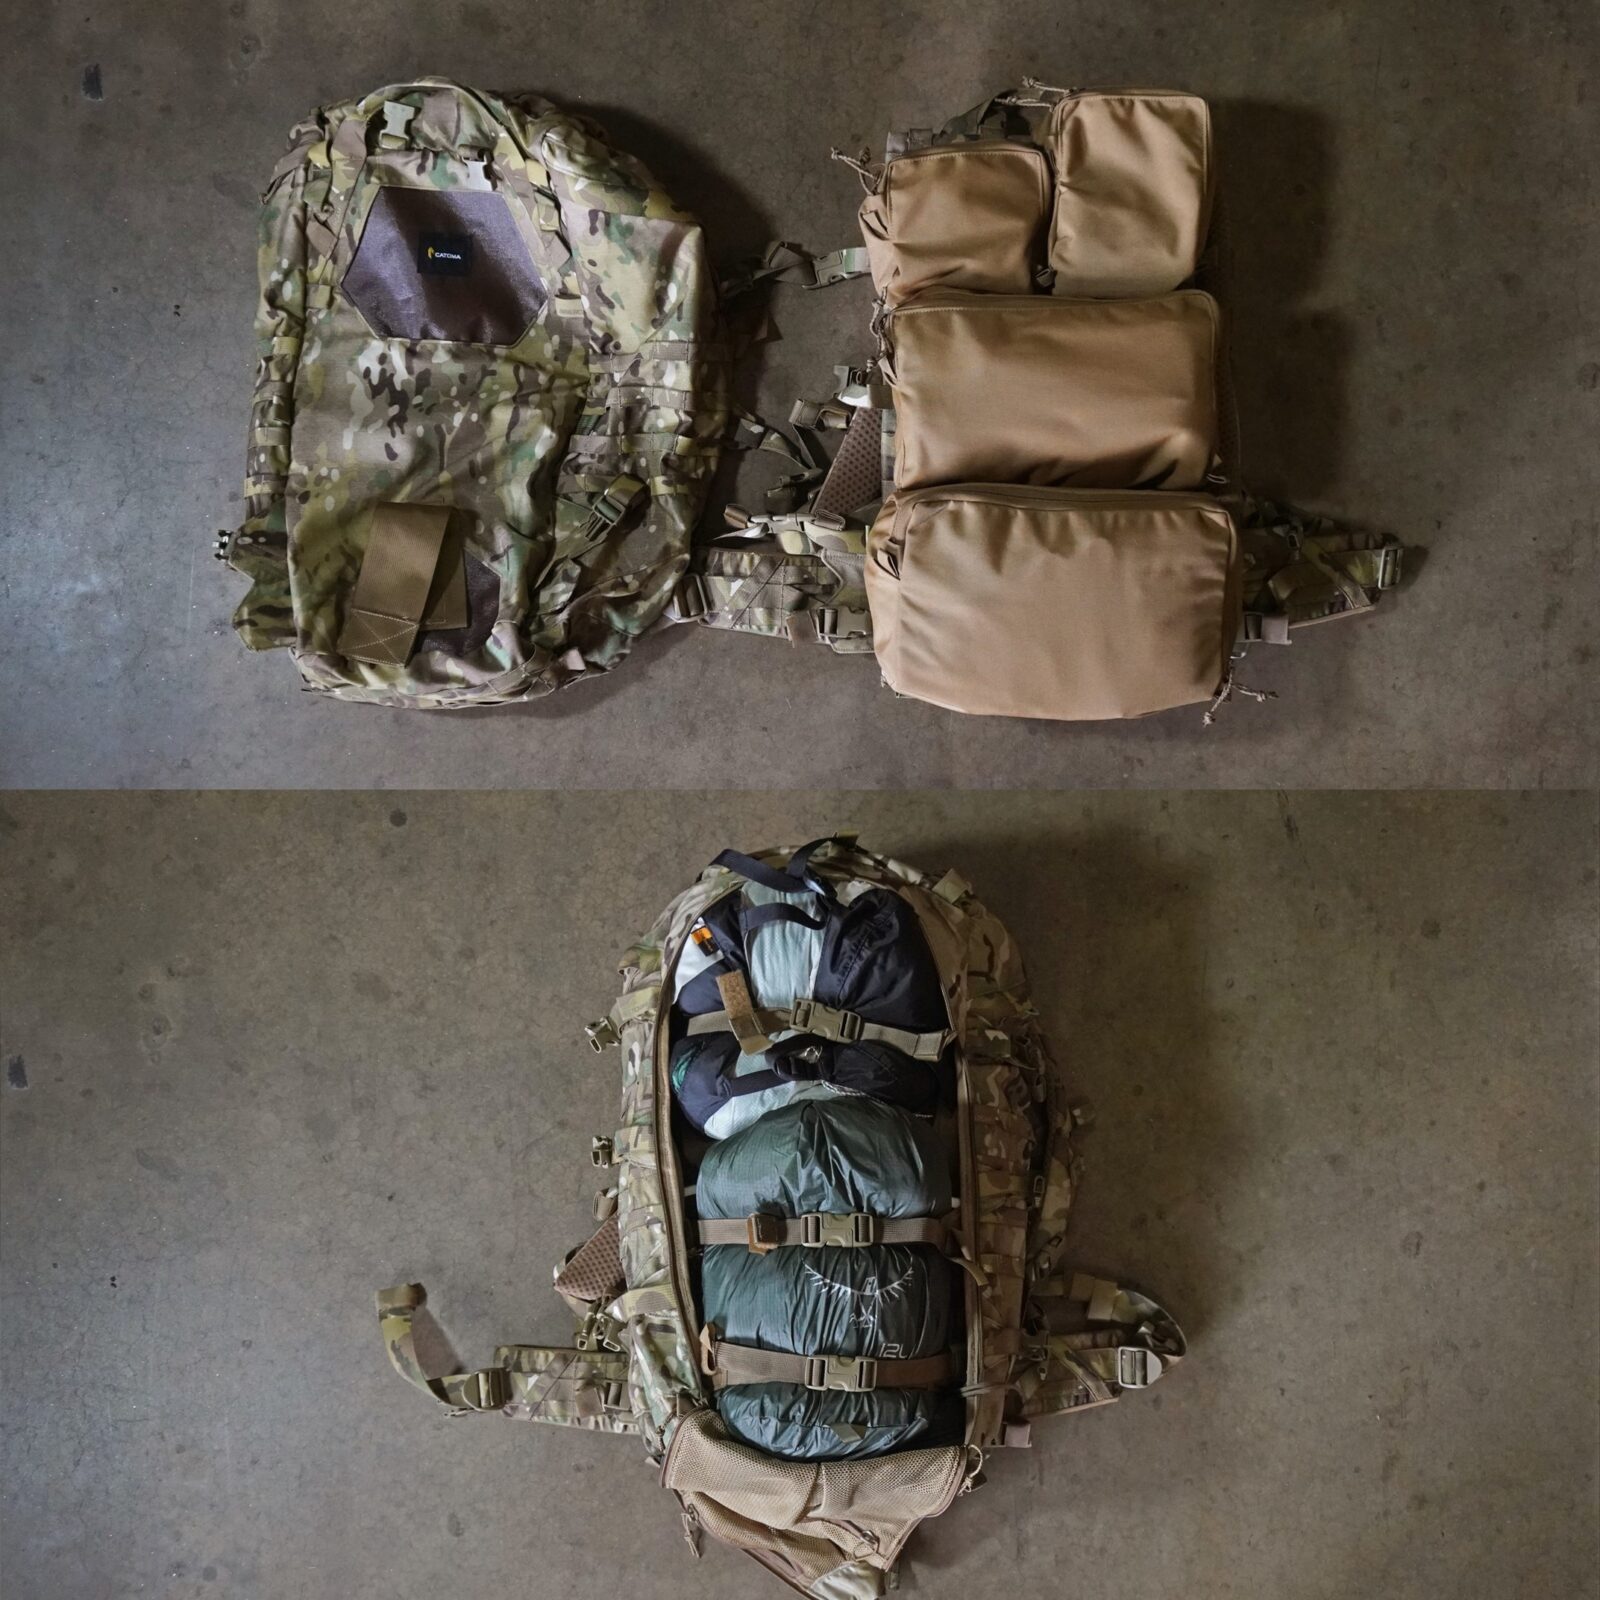
At the end of the day, my pack weighs in at 32 lbs, sans food and water, and including my wading boots and waders, which I will cover in the next Part of this series. That’s not bad considering I’m carrying an experimental military pack that weighs nearly 8 lbs on its own. There are also a handful of items included in my pack that I didn’t discuss in this article as well, like toiletries and playing cards that you have to keep an eye on also, as they can add up! I’m happy with the reductions and improvements I’ve made to my gear and ready to take on this trip!
Researching, refining, and packing for a trip like this is a very rewarding experience. I hope you’ve picked up a good idea or two along the way that will help make your next trip a little more fulfilling. Get yourself a good kitchen scale so you can weigh your items and start refining your packing list. Most importantly, remember to have fun and find time to smell the flowers!
Reach out to us directly if you have questions about our gear or just want some general backcountry advice. You can use the Contact page here on the site, or simply DM us on social media. Keep an eye out for the next Part in this series, where we’ll be talking about some fishing gear and techniques.
Here is a list of links to some key items from some of my favorite brands featured in this article:
Catoma Burrow: https://catoma.com/product/shelters/1p/burrow/
Catoma Gopher Tarp: https://catoma.com/product/merchandise/shelters/1p/gopher-tarp-system/
Klymit Static V Sleep Pad: https://klymit.com/products/static-v-camping-sleeping-pad?variant=31735711105114
Katadyn Hiker Pro Water Filter: https://www.katadyn.com/us/us/432-8018273-katadyn-hiker-pro-microfilter
Hydrapak Water Bladder: https://hydrapak.com/products/seeker-2-liter
Timberbrother French Press Boil Pot: https://www.amazon.com/gp/product/B089LSXFBZ/ref=ppx_od_dt_b_asin_title_s00?ie=UTF8&psc=1
Combat Biodegradable Wipes: https://www.amazon.com/gp/product/B074DDCW8B/ref=ppx_yo_dt_b_asin_title_o02_s01?ie=UTF8&psc=1
Osprey UL Stuff Sacks: https://www.amazon.com/gp/product/B01IEXKD10/ref=ppx_yo_dt_b_asin_title_o04_s01?ie=UTF8&psc=1